Slipper Finishing School Day 3
This was more easily done on the first pair of Men's slippers that I made because I already had a reliable slipper-sole pattern of the appropriate size. Tomorrow I will cover how to enlarge the sole and even the slipper if needed for those guys with giant feet.
First of all, you should definitely check a shoe-size chart online. Here is a great one from Zappo's- all shoe sizes in inches. The sole pattern I was using was from a woman's slipper pattern, but by comparing the sizes I could see which was the correct size to use. You generally want to size down on half-sizes, since crochet does stretch somewhat when worn.
Matching the single-layer slipper sole to the double-stranded top required some math. The stitch count of the last round of the slipper is larger than the stitch count of the first row of the upper. Of course this works out fine since the double-stranding is a lot thicker than the single-stranding- you just have to know how to space that first row out evenly.
The patterns I used are both Mamachee designs. I used the sole from the Galilee Slipper (size 9-10 worked with the larger hook as suggested for a 10" shoe) and the uppers from the Opa Slipper (size 8-9, 10" long). I love the Mamachee slippers! I will use these as my examples, but you should be able to apply this same math to any combination of stitches.
Final round of sole pattern: 94 stitches
First 'upper' row of the slipper pattern: 67 stitches
Using markers on your slipper sole, isolate the back of the heal and the tip of the toe- 6 stitches on each end that you definitely won't skip. You can vary this as you see fit or don't worry about it at all. I felt that the toe and heal would be neater and stronger if they were worked solid, but that's just a theory.
I then deduct that stitch count from my totals.
94 - 12 = 82
67 - 12 = 55
How many sole stitches will there be on each side?
82/2 = 41
And how many upper stitches will there be on each side?
55/2 = 27 with 1 left over.
Since I had 1 stitch left over, I decided to stick it to the outside of the slipper. So, on the Right shoe I would have 1 extra stitch to the right and on the left shoe I would have one extra stitch to the left. One stitch make little difference, so if you are not as anal as I am then don't worry about where you stick it. Add it to the heal or toe, maybe.
Let's forget about the extra stitch for now and go back to the math.
So, I need to spread out 27 upper stitches over 41 sole stitches. That means I need to skip:
41 - 27 = 14 stitches
So, for every 27 stitches, we need to skip 14.
Divide them both by 14 and we get:
27/14 = 1 and 13/14 - which is so close to 2 that we should just call it 2.
and
14/14 = 1.
So... for every 2 stitches, we need to skip 1.
 |
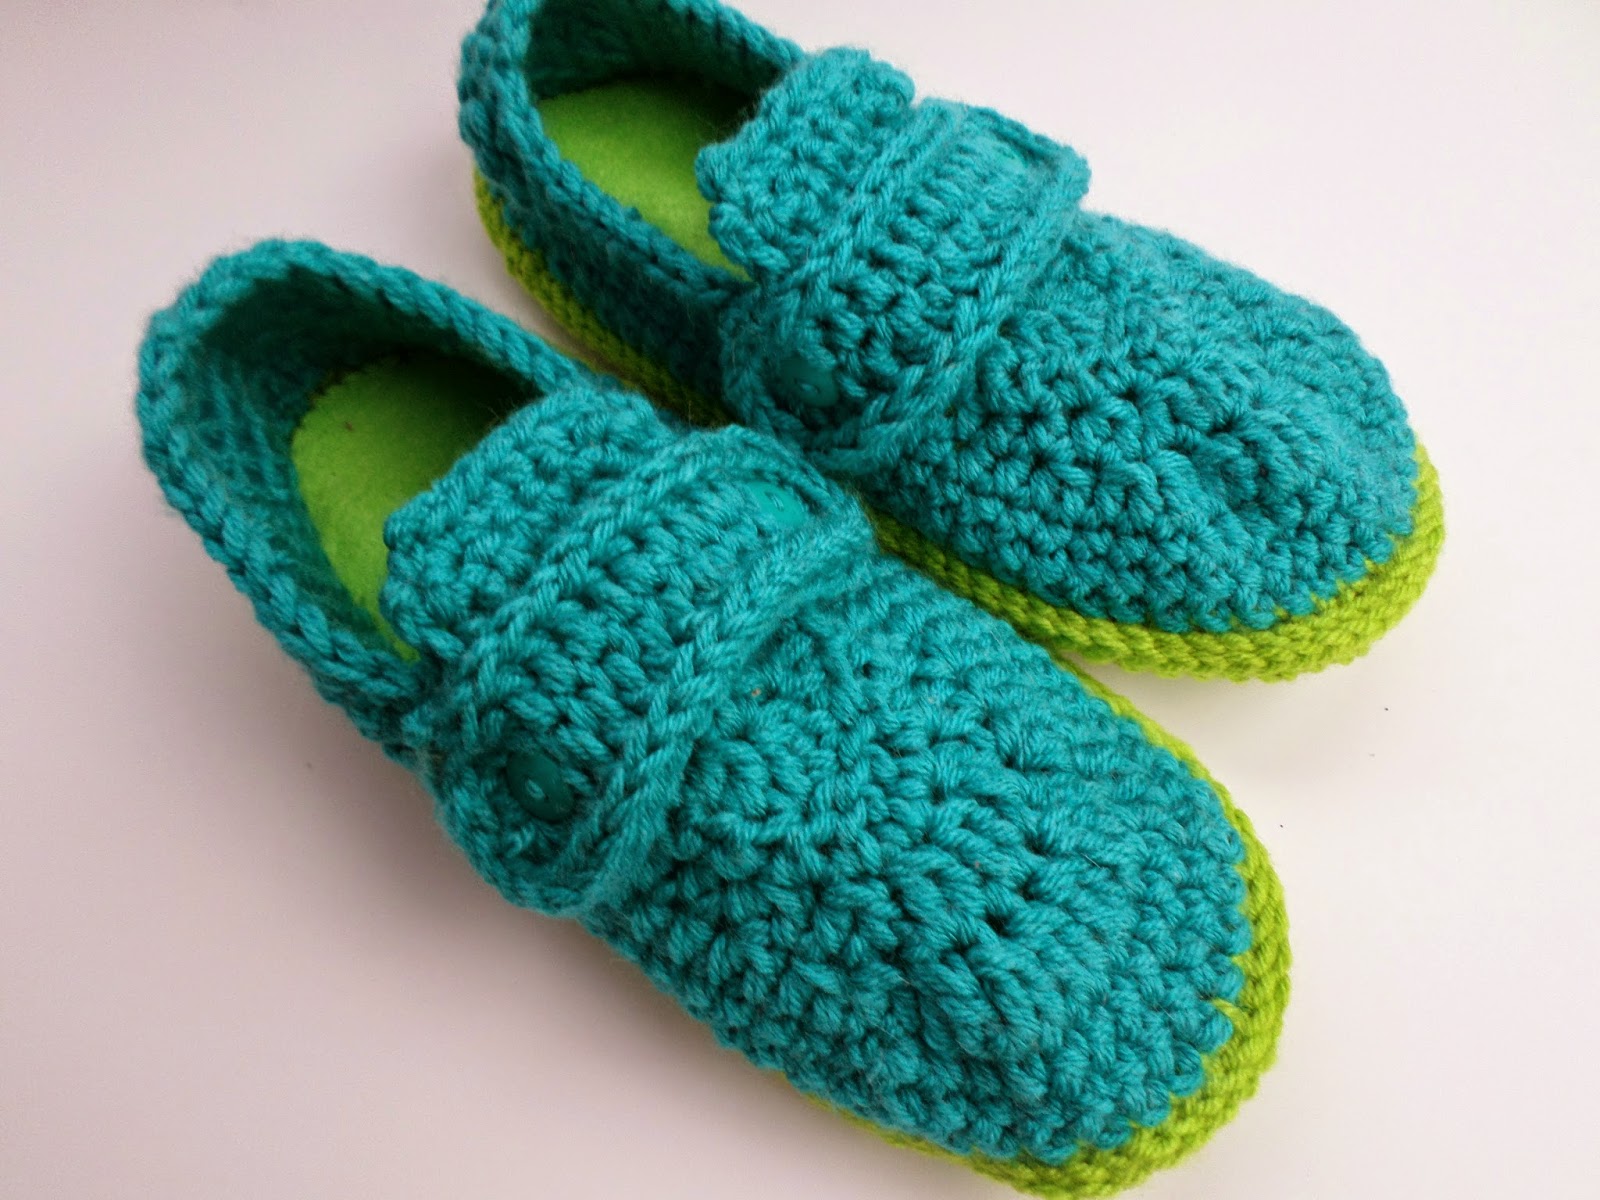
| Family Slippers, patterns by Mamachee |
I crocheted 2stitches and skipped 1. And I had an extra one to put in there on one side, so I crocheted that one instead of skipping it. And since it didn't come out exactly even- there was that other 1 left over- there was another stitch I didn't skip in there, too. So, yes, you still have to count and adjust as you go, but hopefully if you are making something that needs to fit as precisely as a shoe you are already counting all your rows anyway.
After that first round, the rest is not a problem. You can jsut follow the pattern as usual. And make some great slippers that you can finish the soles to be comfy and squishy- as described on Days 1 and 2.
And do not forget your stitch markers! They are your best friend! Stitch markers and a very sharp tapestry needle- a Stitcher's best friends!
Tomorrow... or the next day... whenever I find the time- I will cover how to enlarge a slipper sole if needed for a larger Men's slipper. And then I will be finished talking about slippers for a while. :P
Comments
Post a Comment
Thanks for visiting! If you have a question, PLEASE EMAIL.